$ ssh <username>@pi-hotspot.localHost a Wi-Fi hotspot with a Raspberry Pi
All tutorials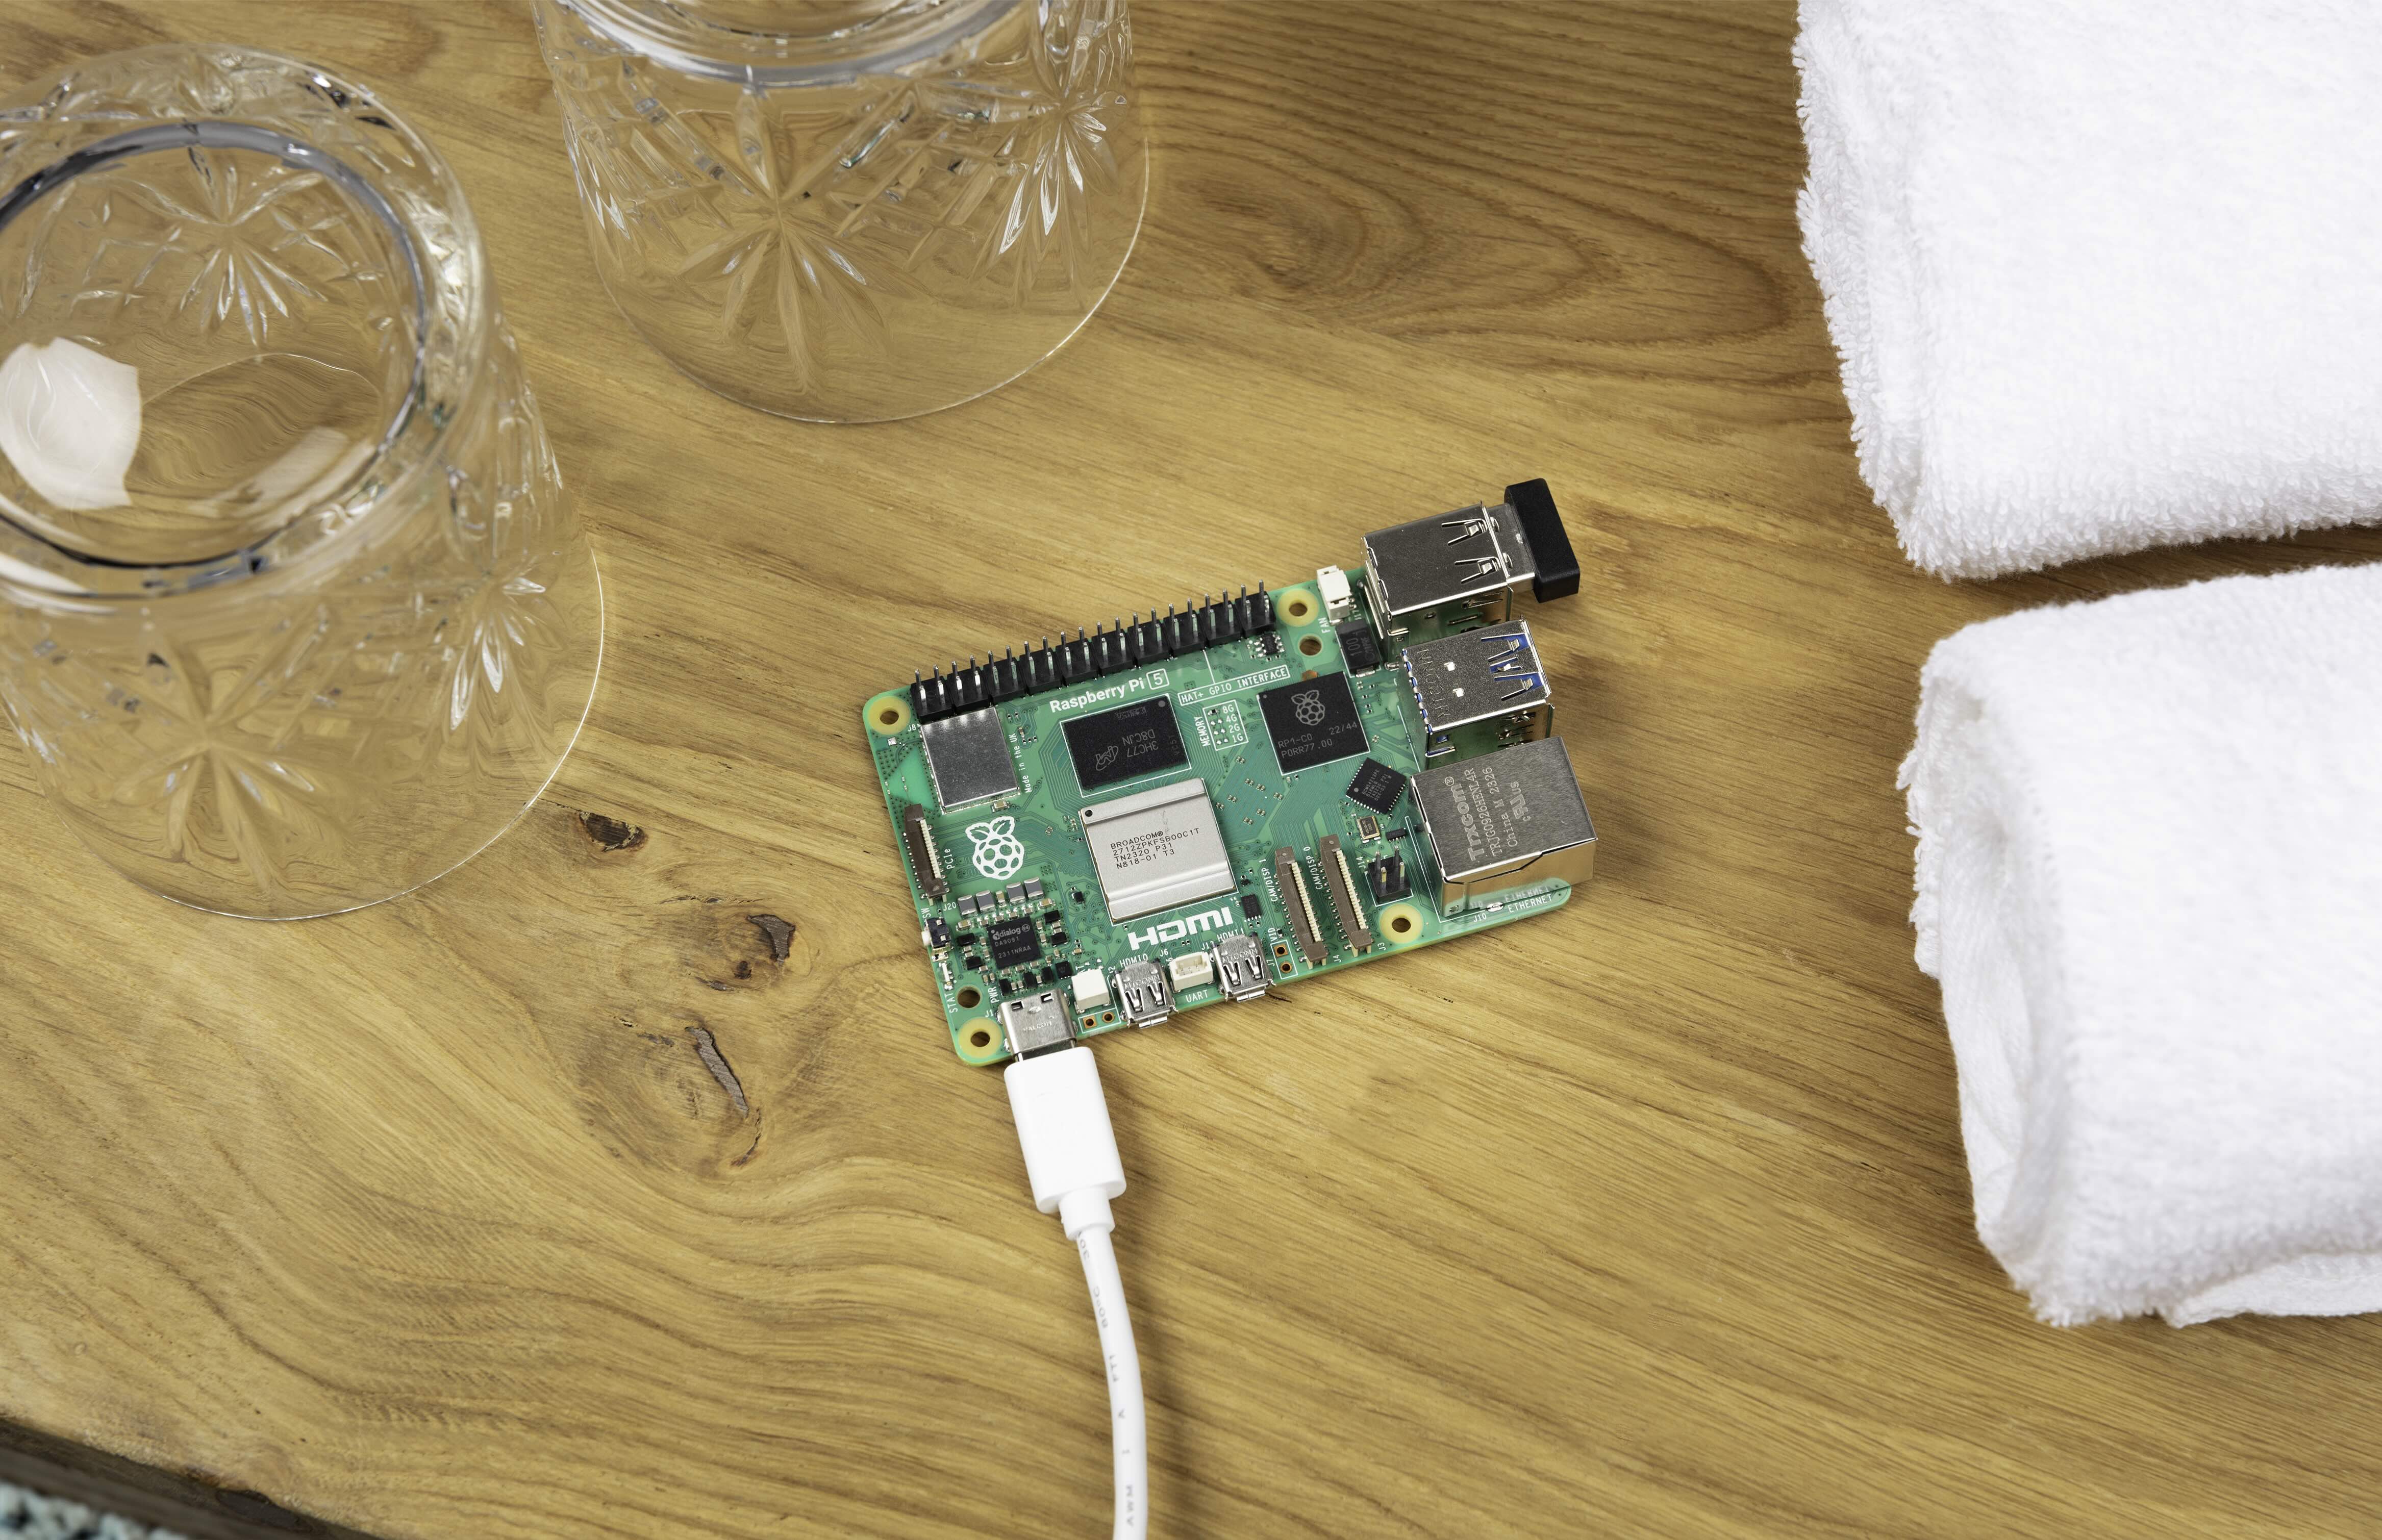
Dealing with hotel Wi-Fi is almost always a pain. Signing into a portal that doesn’t always work properly on every device — your phone, laptop, tablet, e-reader, watch, and more — is error-prone, and it’s an easy way to end up accidentally adding pricey internet fees to your hotel stay. Some hotel Wi-Fi only allows a single device per room! Most won’t let your devices communicate with each other, and if they do, they may well present a security risk.
You can use a Raspberry Pi to connect to hotel Wi-Fi once, then broadcast a separate network to all of your devices. With this setup, you won’t have to configure Wi-Fi for all of your devices every time you visit a hotel. Instead, you can set them up once, and then every time you go to a hotel, your devices will automatically connect to the Raspberry Pi’s network.
tip
This tutorial describes hosting a hotspot from a hotel Wi-Fi network connection, but the same procedure should work for any public Wi-Fi network that uses a captive portal, including guest networks at airports, college campuses, and coffee shops.
We’ll begin by setting up the hotspot at home. To use the hotspot once you’re actually at a hotel, see Use the hotspot.
Supplies
-
Raspberry Pi
-
Suitable Raspberry Pi power supply (see the power supply documentation for details)
-
MicroSD card (see the SD card documentation for details)
-
Adapter to connect your microSD card with your usual computer
-
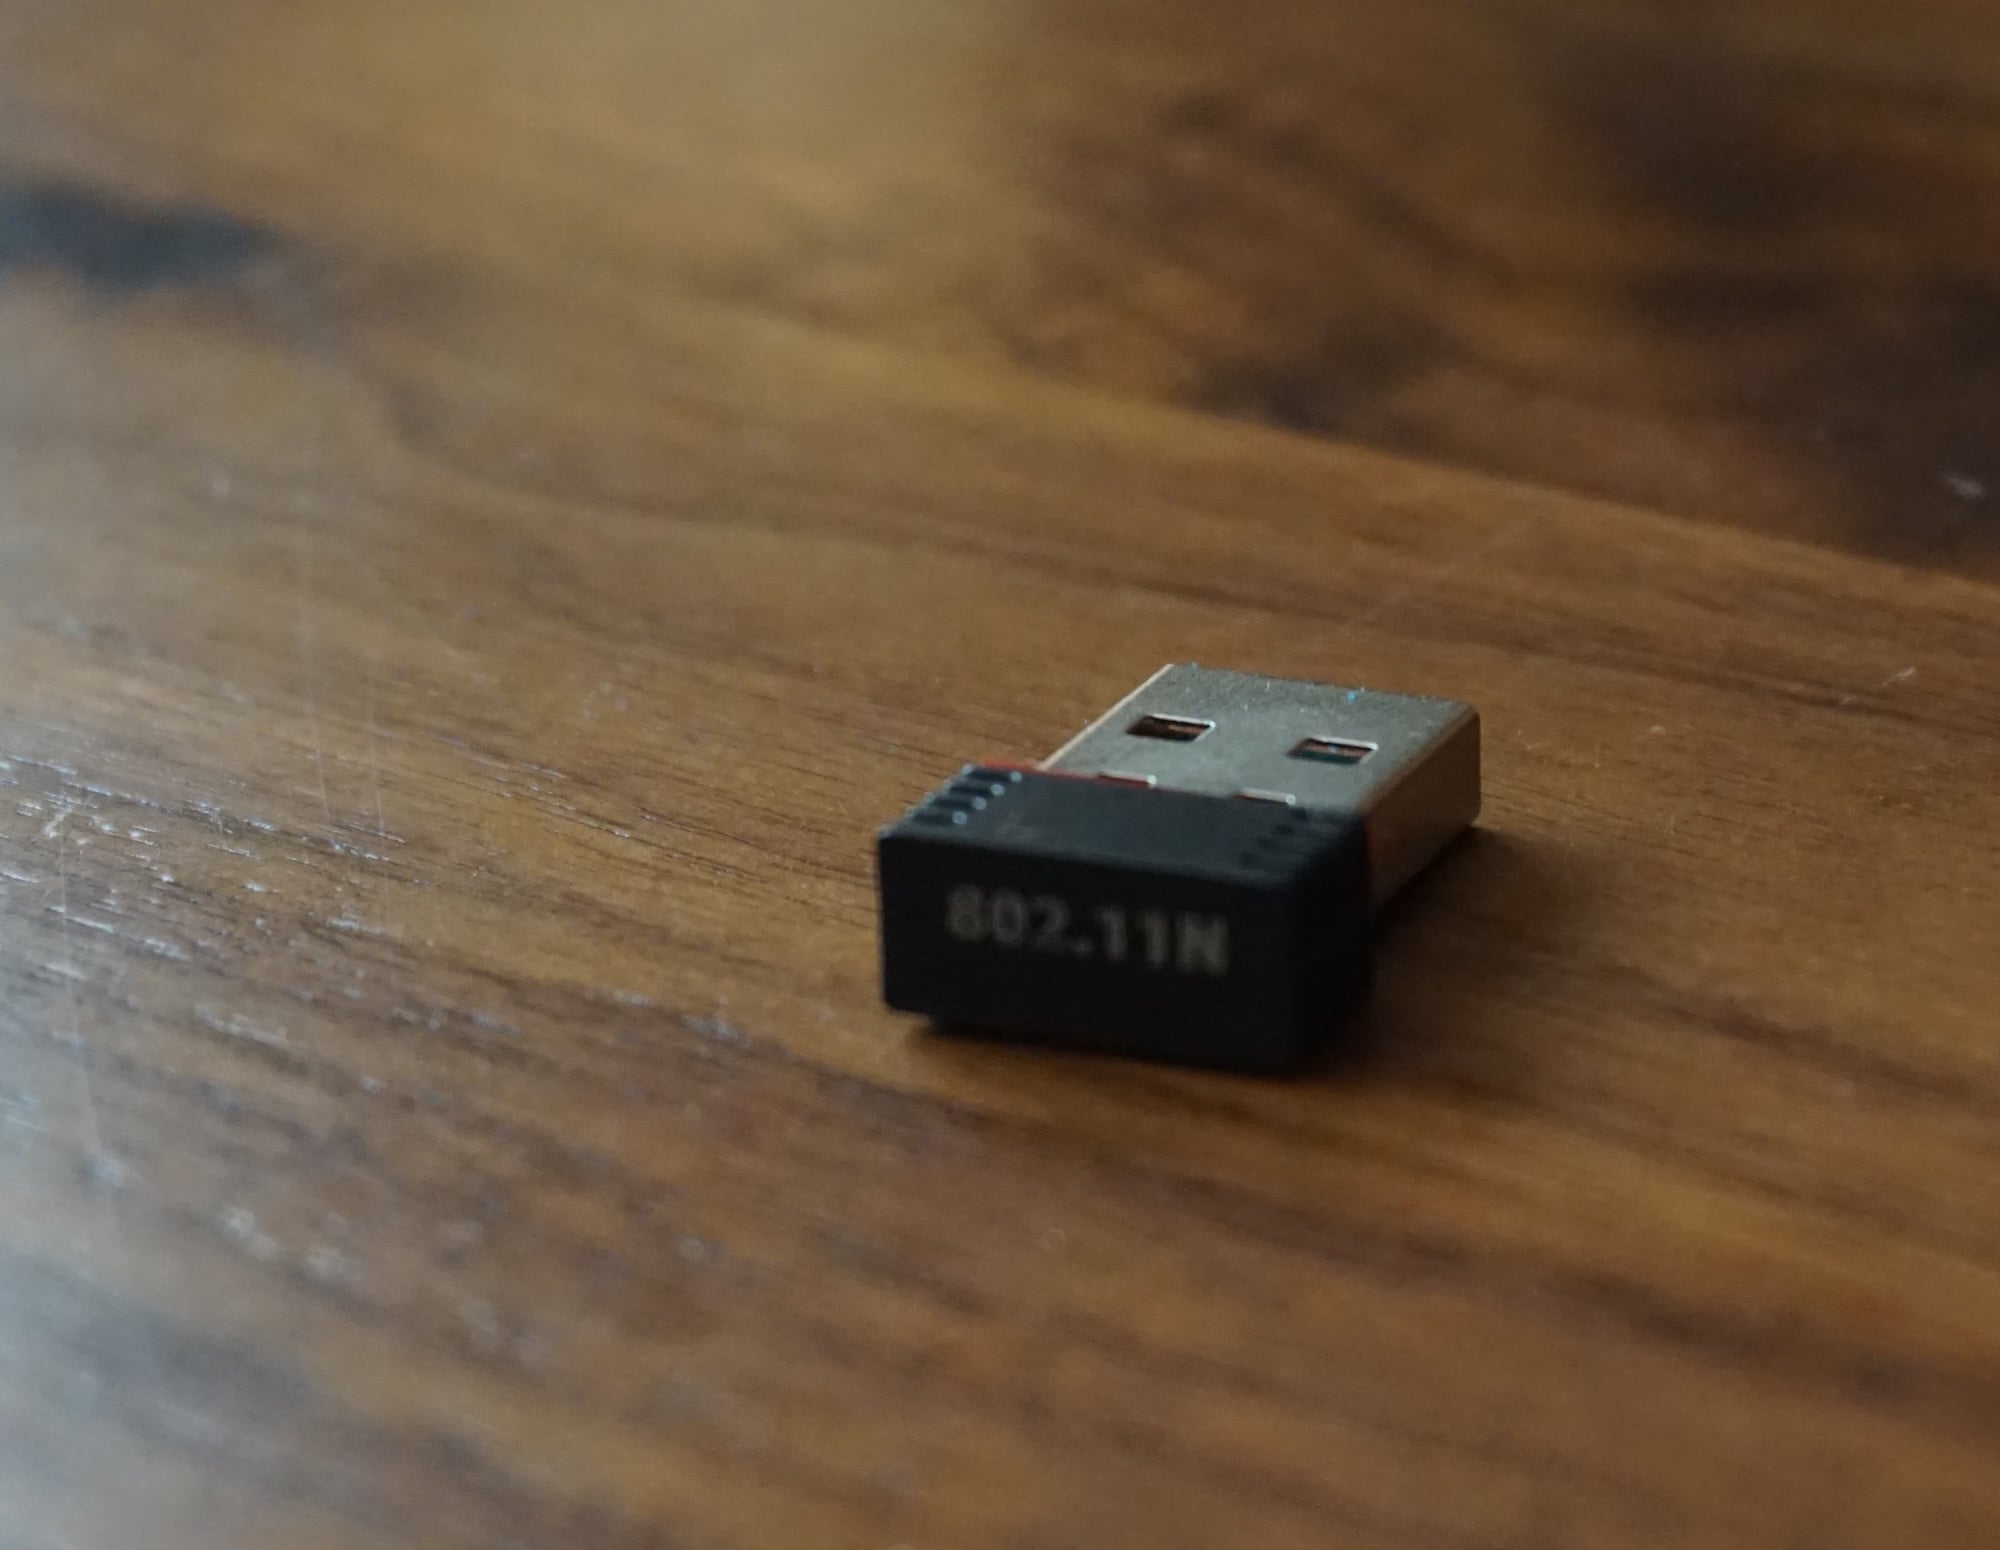
USB Wi-Fi adapter
For the initial SD card setup, you will need:
-
Another computer connected to your network. We’ll refer to this as your usual computer to distinguish it from the Raspberry Pi computer you are setting up as NAS.
Choose the right Raspberry Pi
The faster your Raspberry Pi, the better performance you’ll get. For this tutorial, we’ll be using a Raspberry Pi 4 2GB.
It’s a good idea to choose a Raspberry Pi with a built-in Wi-Fi module, because you’ll need two Wi-Fi devices to host your own hotel Wi-Fi hotspot: one to connect to the hotel network, and one to broadcast a network to your other devices.
Choose the right USB Wi-Fi adapter
Most USB Wi-Fi adapters with Linux driver support should suffice.
For this tutorial, we used a 802.11 b/g/n 2.4GHz adapter built around the MediaTek MT7601U chipset.
tip
If you chose a Raspberry Pi that doesn’t include a built-in Wi-Fi module, you will need two USB Wi-Fi adapters. At least one of your Wi-Fi adapters must support AP (Access Point) mode to broadcast a hotspot network.
Configure your Raspberry Pi
To begin, follow the Getting Started documentation to set up your Raspberry Pi. For your operating system, choose Raspberry Pi OS Lite (32-bit) to run headless (without a mouse and keyboard).
During the OS customisation stage, edit settings as follows:
-
Enter a hostname of your choice (we suggest
pi-hotspotfor this tutorial). -
Enter a username and password; you’ll need these later to authenticate.
-
Check the box next to Configure wireless LAN so your Pi can automatically connect to Wi-Fi.
-
Enter your network SSID (name) and password; you can find these in your Wi-Fi settings or on a sticker on your router.
-
-
In the Services tab, check the box next to Enable SSH so we can connect to the Pi without a mouse and keyboard.
-
Enable password authentication for SSH connections.
-
Set up your Raspberry Pi
Power down your Raspberry Pi by disconnecting it from the power supply. Then, attach your USB WiFi adapter (or adapters) to your Raspberry Pi. Finally, power your Raspberry Pi by plugging it back into the power supply.
Remotely connect to your Raspberry Pi
SSH allows you to remotely connect to your Raspberry Pi, eliminating the need for a keyboard and mouse. It’s perfect if your Raspberry Pi is located in a hard-to-reach location like the back of your display.
note
To SSH into the Raspberry Pi, you’ll use the hostname you set using Raspberry Pi Imager. If you have issues connecting using this method, you may want to use your Raspberry Pi’s IP address instead. For more information about finding your IP address and accessing your Raspberry Pi remotely, see the remote access documentation.
Connect via SSH
Open a terminal session on your usual computer. To access your Raspberry Pi via SSH, run the following command, replacing <username> with the user name you chose in Imager:
$ ssh <username>@pi-hotspot.local
The authenticity of host 'pi-hotspot.local (fd81:b8a1:261d:1:acd4:610c:b069:ac16)' can't be established.
ED25519 key fingerprint is SHA256:s6aWAEe8xrbPmJzhctei7/gEQitO9mj2ilXigelBm04.
This key is not known by any other names
Are you sure you want to continue connecting (yes/no/
[fingerprint])? yes
Warning: Permanently added 'pi-hotspot.local' (ED25519) to the list of known hosts.

<username>@pi-hotspot.local's password:
Linux pi-hotspot 6.1.21-v8+ #1642 SMP PREEMPT Mon Apr  3 17:24:16 BST 2023 aarch64

The programs included with the Debian GNU/Linux system are free software;
the exact distribution terms for each program are described in the
individual files in /usr/share/doc/*/copyright.

Debian GNU/Linux comes with ABSOLUTELY NO WARRANTY, to the extent
permitted by applicable law.
Last login: Tue Oct 24 09:41:00 2023
<username>@pi-hotspot:~ $
When asked for your password, use the password you created in Raspberry Pi Imager.
Configure hotspot
Now that your Raspberry Pi is up and running, it’s time to transform it into a hotspot.
Find your USB Wi-Fi adapter
First, we need to find the USB adapter. Run the following command to identify Wi-Fi devices with the Network Manager CLI:
$ nmcli deviceYou should see output similar to the following:
DEVICE         TYPE      STATE                   CONNECTION
wlan1          wifi      connected               Example Wi-Fi
lo             loopback  connected (externally)  lo
wlan0          wifi      disconnected            --
p2p-dev-wlan0  wifi-p2p  disconnected            --
eth0           ethernet  unavailable             --
In the above output, the USB Wi-Fi module, wlan1, is connected to a Wi-Fi network named "Example Wi-Fi". The built-in Wi-Fi device, wlan0, is not currently in use, so the state currently reads "disconnected".
If your Raspberry Pi has a built-in Wi-Fi module, it should show up by default as wlan0. The first Wi-Fi module you connect should show up as wlan1, and subsequent adapters will display as wlan2, wlan3, and so on. Depending on your specific configuration, your Raspberry Pi might connect to your network using either the USB adapter or the built-in Wi-Fi module.
Create hotspot network
Next, we’ll use the built-in Wi-Fi module to broadcast a hotspot network. Run the following command to create a hotspot, replacing the <hotspot name> and <hotspot password> placeholders with a hotspot name and password of your choice:
$ sudo nmcli device wifi hotspot ssid <hotspot name> password <hotspot password> ifname wlan0tip
The
ifname wlan0 option at the end of this command specifies that the hotspot should use the built-in Wi-Fi module, which supports the AP (Access Point) mode required to broadcast a hotspot network. To host a hotspot from a Raspberry Pi that lacks a built-in Wi-Fi module, specify an interface corresponding to a USB adapter that supports AP mode.After creating the hotspot network, your hotspot should automatically become active.
Next, connect to the hotspot Wi-Fi network from your usual computer. Look for a network with an SSID matching the hotspot name you chose in the previous step. Use the password you also provided in that step to authenticate.
Then, connect to your Raspberry Pi using SSH:
$ ssh <username>@pi-hotspot.localAnd run the following command to view your current connections:
$ nmcli connectionYou should see output similar to the following:
NAME       UUID                                  TYPE      DEVICE
Hotspot    69d77a03-1cd1-4ec7-bd78-2eb6cd5f1386  wifi      wlan0
lo         f0209dd9-8416-40a0-971d-860d3ff3501b  loopback  lo
Ethernet   4c8098c7-9f7d-4e3e-a27a-70d54235ec9a  ethernet  --
Example 1  f0c4fbcc-ac88-4791-98c2-e75685c70e9f  wifi      --
Example 2  9c6098a7-ac88-40a0-5ac2-b75695c70e9e  wifi      --
The connection named Hotspot represents your new hotspot network. The Example 1 and Example 2 connections above represent saved Wi-Fi connections which are inactive.
Configure hotspot network
Let’s configure your hotspot network to automatically broadcast whenever your Raspberry Pi boots. When your Raspberry Pi boots, it starts whichever connection has autoconnect enabled with the highest priority. To ensure that your hotspot always starts on boot, we’ll enable autoconnect for the hotspot and configure a priority higher than any other connection.
Re-run the nmcli connection command above and copy the UUID for your hotspot network from the table. Then, run the following command to view connection properties for your hotspot network, replacing the <hotspot UUID> placeholder with the UUID for your hotspot:
$ nmcli connection show <hotspot UUID>The output will contain a lot of properties that describe your hotspot network. But we’re only interested in the following two properties for now:
connection.autoconnect:                 no
connection.autoconnect-priority:        0
Run the following command to change the priority and autoconnect properties for your hotspot, replacing the <hotspot UUID> placeholder with the UUID for your hotspot that you copied to your clipboard before:
$ sudo nmcli connection modify <hotspot UUID> connection.autoconnect yes connection.autoconnect-priority 100If your command executed successfully, we should see the following new values for those properties when we re-run nmcli connection show <hotspot UUID>:
connection.autoconnect:                 yes
connection.autoconnect-priority:        100
Configure connection portal
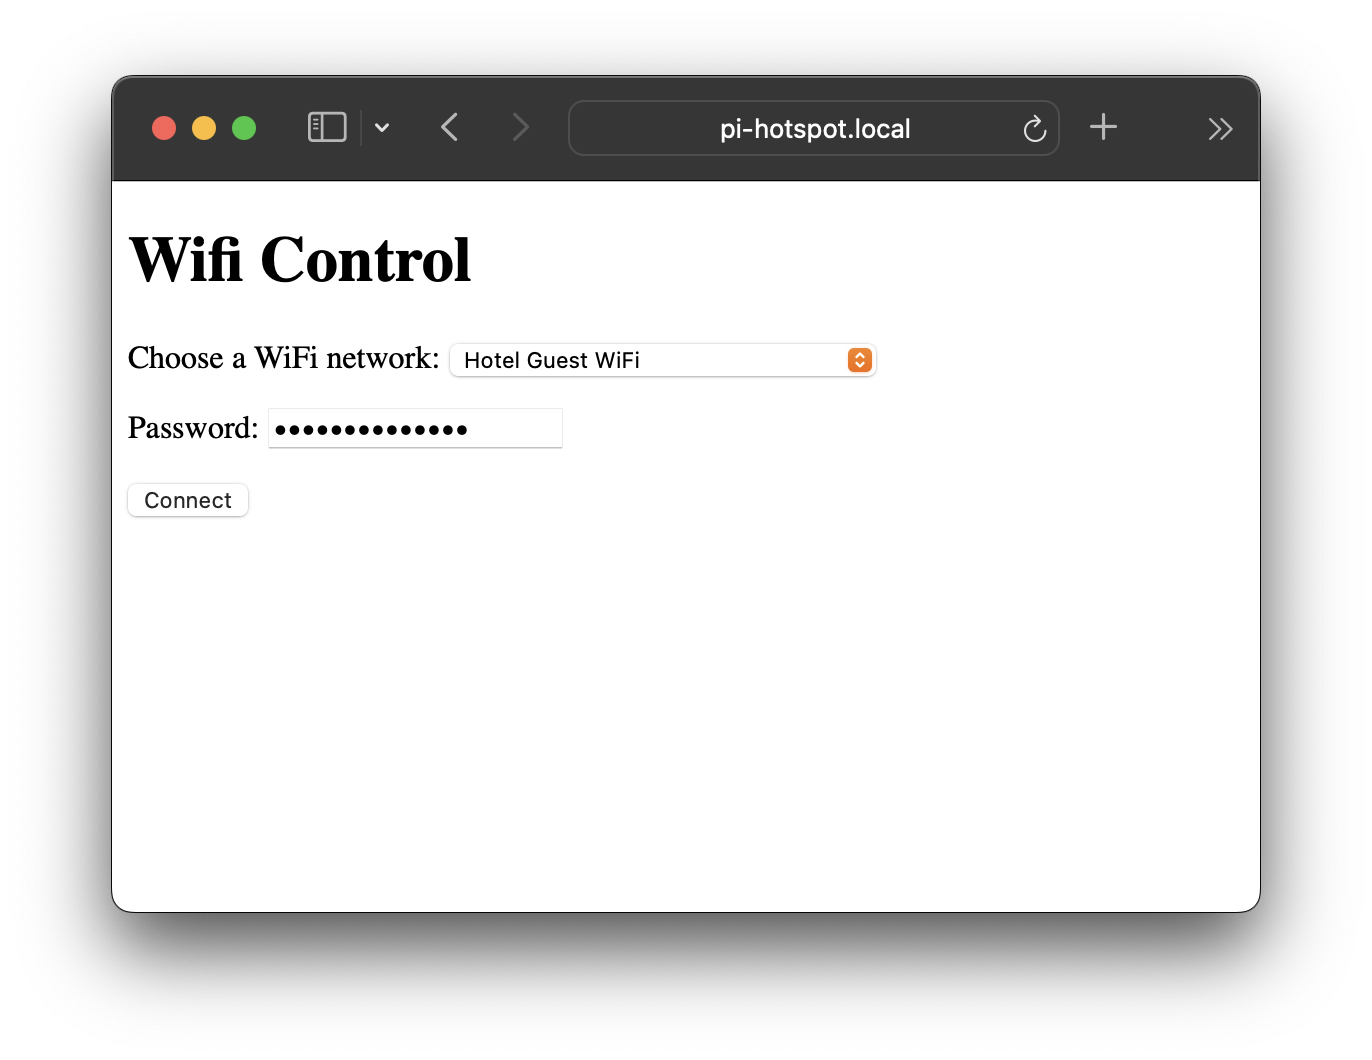
Next, let’s configure a portal website that allows you to easily connect your Raspberry Pi to a hotel Wi-Fi network from a browser.
Install the following tools:
$ sudo apt install python3-flaskThen, run the following command to make a directory where we can create our portal, called wifi-portal:
$ mkdir ~/wifi-portalThen, navigate into the portal directory:
$ cd ~/wifi-portalOpen app.py in the portal directory, which contains the logic for the portal website:
$ sudo nano app.pyCopy and paste the following code into app.py:
from flask import Flask,request
import subprocess

app = Flask(__name__)

wifi_device = "wlan1"

@app.route('/')
def index():
    result = subprocess.check_output(["nmcli", "--colors", "no", "-m", "multiline", "--get-value", "SSID", "dev", "wifi", "list", "ifname", wifi_device])
    ssids_list = result.decode().split('\n')
    dropdowndisplay = f"""
        <!DOCTYPE html>
        <html>
        <head>
            <title>Wifi Control</title>
        </head>
        <body>
            <h1>Wifi Control</h1>
            <form action="/submit" method="post">
                <label for="ssid">Choose a WiFi network:</label>
                <select name="ssid" id="ssid">
        """
    for ssid in ssids_list:
        only_ssid = ssid.removeprefix("SSID:")
        if len(only_ssid) > 0:
            dropdowndisplay += f"""
                    <option value="{only_ssid}">{only_ssid}</option>
            """
    dropdowndisplay += f"""
                </select>
                <p/>
                <label for="password">Password: <input type="password" name="password"/></label>
                <p/>
                <input type="submit" value="Connect">
            </form>
        </body>
        </html>
        """
    return dropdowndisplay


@app.route('/submit',methods=['POST'])
def submit():
    if request.method == 'POST':
        print(*list(request.form.keys()), sep = ", ")
        ssid = request.form['ssid']
        password = request.form['password']
        connection_command = ["nmcli", "--colors", "no", "device", "wifi", "connect", ssid, "ifname", wifi_device]
        if len(password) > 0:
          connection_command.append("password")
          connection_command.append(password)
        result = subprocess.run(connection_command, capture_output=True)
        if result.stderr:
            return "Error: failed to connect to wifi network: <i>%s</i>" % result.stderr.decode()
        elif result.stdout:
            return "Success: <i>%s</i>" % result.stdout.decode()
        return "Error: failed to connect."


if __name__ == '__main__':
    app.run(debug=True, host='0.0.0.0', port=80)
Press Ctrl+X, then Y, and finally Enter to save the edited file with nano.
Next, let’s configure your Raspberry Pi to automatically run the Wi-Fi portal after boot. Run the following command to open your cron tab, a Linux scheduling tool:
$ crontab -eEnter 1 to use the nano text editor to edit your cron schedule.
Then, add the following line to the file, replacing the <username> placeholder with your Raspberry Pi admin account username:
@reboot sudo python3 /home/<username>/wifi-portal/app.pyPress Ctrl+X, then Y, and finally Enter to save the edited file with nano.
And enter the following command to reboot your Raspberry Pi:
$ sudo rebootYou’re now ready to connect to any hotel Wi-Fi network!
Use the hotspot
You should now have your hotel Wi-Fi hotspot entirely set up. Every time you go to a hotel, repeat the following steps:
-
Plug in your Raspberry Pi.
-
Connect your usual computer to the hotspot Wi-Fi connection.
-
Connect a device to the hotspot and visit http://pi-hotspot.local. Select a Wi-Fi network and enter a password if necessary.
-
On a device connected to the hotspot, open the captive portal at http://captive.apple.com. Authenticate to get the Raspberry Pi hotspot network connected to the internet.
The first time you use another device with the hotspot, you’ll have to set up the Wi-Fi connection manually. But after that, the device should automatically connect to the hotspot.
tip
You may have to repeat the captive portal step every 12-48 hours depending on your hotel’s network setup.
Next steps
Now that you’ve got your own Wi-Fi hotspot routed through hotel Wi-Fi networks, put it to good use! Watch some movies, browse the internet, and relax.
Now you’ve relaxed, consider some improvements to make your hotel Wi-Fi hotspot even more convenient. Using a second Raspberry Pi (or home server, if you already have one), you can host a personal VPN on your home network with PiVPN and configure your hotspot-hosting Raspberry Pi to connect to it. With a VPN connection, you can protect all devices connected to your hotspot from snooping while connected to insecure guest networks.